Essential Quilting Techniques Every Quilter Should Know
Quilting is more than just a craft; it's a form of art that combines creativity, precision, and patience. Whether you're a beginner or a seasoned quilter, mastering essential techniques can elevate your quilting projects and enhance your skills. In this blog post, we will explore key quilting techniques that every quilter should know, providing you with practical tips and examples to help you create beautiful quilts.
Understanding Fabric Types
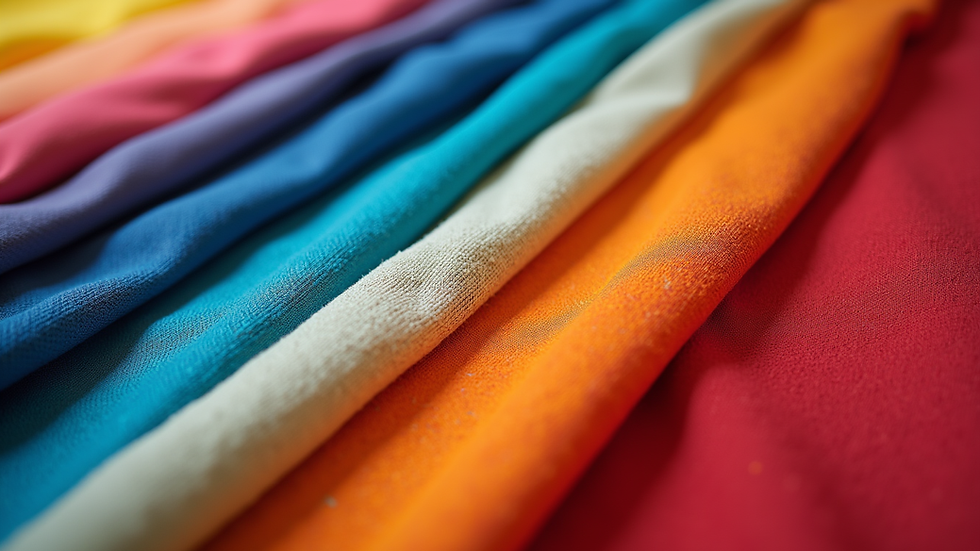
Before diving into techniques, it's crucial to understand the different types of fabrics used in quilting. The fabric you choose can significantly impact the look and feel of your quilt. Here are some common fabric types:
Cotton: The most popular choice for quilting due to its durability and ease of handling. It comes in various prints and colors.
Flannel: Soft and warm, flannel is perfect for cozy quilts, especially in colder months.
Batiks: These hand-dyed fabrics offer unique patterns and colors, adding a distinctive touch to your quilts.
Silk: Luxurious and smooth, silk can create stunning quilts but requires careful handling due to its delicate nature.
Choosing the right fabric is the first step in creating a successful quilt. Always pre-wash your fabric to prevent shrinkage and color bleeding later on.
Essential Cutting Techniques
Accurate cutting is vital in quilting. Here are some essential cutting techniques to ensure precision:
Use a Rotary Cutter
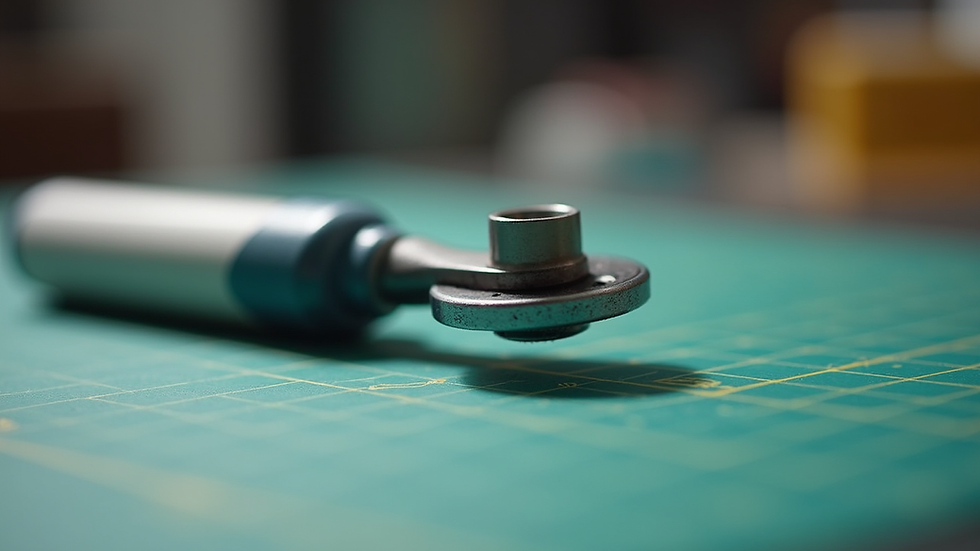
A rotary cutter is a quilter's best friend. It allows for clean, straight cuts and is much faster than scissors. Here’s how to use it effectively:
Cut on a self-healing mat: This protects your blade and ensures smooth cuts.
Use a ruler: Align your fabric with the ruler to maintain straight edges.
Cut in one motion: Avoid sawing back and forth to achieve a clean cut.
Master the 1/4-Inch Seam
The 1/4-inch seam is the standard seam allowance in quilting. To ensure accuracy:
Use a seam guide: Attach a seam guide to your sewing machine to maintain consistent seam widths.
Practice on scrap fabric: Before starting your project, practice sewing 1/4-inch seams on scrap fabric to build confidence.
Piecing Techniques
Once your fabric is cut, it's time to piece your quilt together. Here are some techniques to consider:
Chain Piecing
Chain piecing is an efficient method that saves time and thread. Here’s how to do it:
Sew multiple pieces together in a continuous chain: Instead of cutting the thread after each piece, keep sewing.
Cut apart the pieces afterward: This method speeds up the process and reduces thread waste.
Pressing Seams
Proper pressing is essential for a polished quilt. Here are some tips:
Press seams open: This reduces bulk and helps your quilt lay flat.
Use a hot iron: Ensure your iron is set to the appropriate temperature for your fabric type.
Quilting Techniques
After piecing your quilt top, it's time to quilt it. Here are some popular quilting techniques:
Straight-Line Quilting
This technique involves sewing straight lines across your quilt. It’s simple yet effective, providing a clean look. To achieve straight-line quilting:
Use a walking foot: This foot helps feed multiple layers of fabric evenly.
Mark your lines: Use a fabric marker or chalk to guide your stitching.
Free-Motion Quilting
For a more artistic approach, free-motion quilting allows you to create intricate designs. Here’s how to get started:
Lower the feed dogs: This allows you to move the fabric freely.
Practice on scrap fabric: Before working on your quilt, practice different designs to build confidence.
Binding Your Quilt
Binding is the final touch that completes your quilt. Here’s how to bind your quilt effectively:
Prepare Your Binding
Cut strips: Cut fabric strips 2.5 inches wide for binding.
Sew strips together: Join the strips at a 45-degree angle to create a long continuous strip.
Attach the Binding
Align the binding: Place the binding on the front of the quilt, aligning raw edges.
Sew with a 1/4-inch seam: Leave a few inches unsewn at the beginning and end for joining later.
Fold and press: Fold the binding over to the back and press it in place.
Finishing Touches
Once your quilt is bound, it’s time for the finishing touches. Here are some ideas:
Label your quilt: Adding a label with your name, date, and any special notes personalizes your quilt.
Wash your quilt: Washing helps to soften the fabric and remove any markings.
Troubleshooting Common Issues
Even experienced quilters face challenges. Here are some common issues and how to resolve them:
Fabric Bunching
If your fabric is bunching while sewing, check your tension settings and ensure you are using the correct presser foot.
Uneven Edges
To avoid uneven edges, always cut your fabric accurately and use a rotary cutter and ruler for precision.
Conclusion
Mastering these essential quilting techniques will not only improve your skills but also enhance the beauty of your quilts. Remember, practice makes perfect. Don’t be afraid to experiment with different fabrics and techniques. The more you quilt, the more confident you will become. So gather your materials, choose a project, and start quilting today! Happy quilting!
Comments